
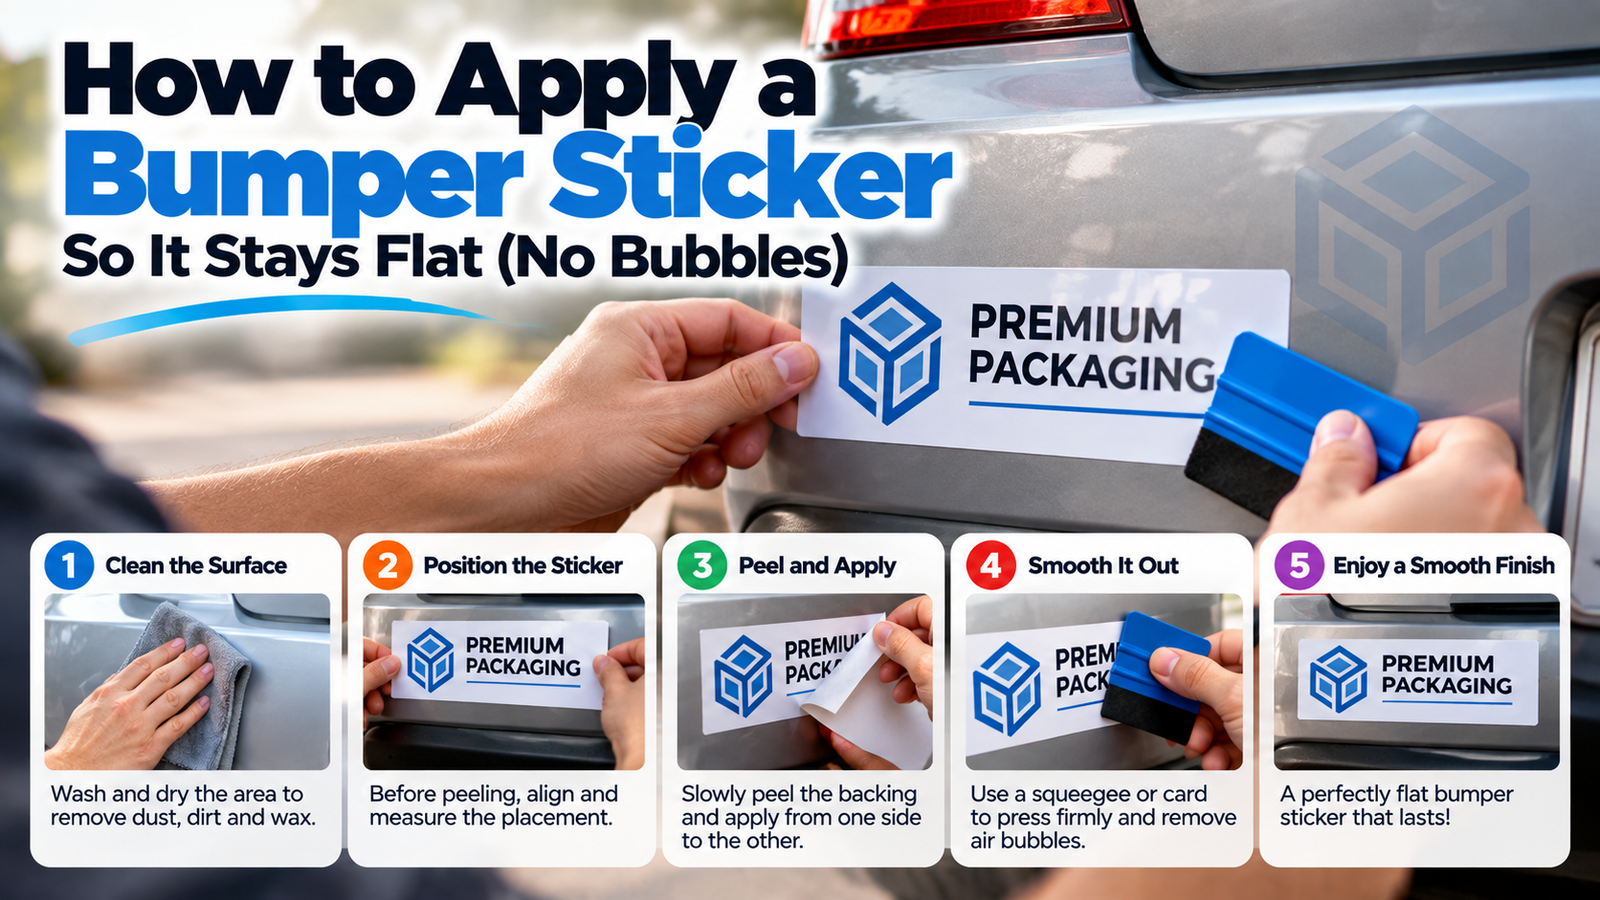
To apply a bumper sticker, clean the spot with rubbing alcohol, let it dry, position the sticker with a strip of tape along the top, peel the backing slowly, and smooth it down from the center outwards with a squeegee or credit card. Do it in the shade when it’s between about 50°F and 90°F, and keep the car out of the car wash for 2 to 3 days.
That covers 90% of it. The rest is about avoiding the small mistakes that cause bubbles, crooked stickers, and edges that peel after a month.
What you’ll need
You don’t need special tools. Most people already have everything at home:
- Isopropyl (rubbing) alcohol, or mild soapy water
- A lint-free cloth or paper towel
- Masking tape or painter’s tape
- A plastic squeegee, or an old credit card wrapped in a soft cloth
- A tape measure if you want it perfectly centered
- A pin, only if you end up with a stubborn bubble
Step-by-step: applying a bumper sticker
1. Pick the right spot
Most modern “bumpers” are painted plastic with curves and textured strips. A sticker sits best on a flat, smooth area. If your bumper has no flat spot big enough, the rear window or the trunk lid are good alternatives. Avoid placing a sticker over a seam, a sensor or a heavily curved edge, because vinyl will try to lift wherever it’s forced to bend.
Also check local rules before covering any part of a window. Stickers on the rear window shouldn’t block your view or your third brake light.
2. Clean the surface properly
This is the step people rush, and it’s the main reason stickers fail. Wash the area if it’s dirty, dry it, then wipe it with isopropyl alcohol to remove wax, road film and fingerprints. Let it dry completely for a minute or two.
If you’ve recently waxed the car, the alcohol wipe matters even more. Adhesive doesn’t grip wax well.
3. Check the temperature
Vinyl adhesive likes mild weather. Applying in direct sun on a hot summer day makes the adhesive grab too fast, and applying in freezing weather means it won’t grab properly at all. Somewhere between 50°F and 90°F (10°C to 32°C), in the shade, is ideal. In winter, do it in a garage.
4. Position it with the hinge method
Hold the sticker in place with the backing still on. Once you’re happy with the position, run a strip of masking tape along the top edge so it sticks half to the sticker and half to the car. That tape is your hinge.
Now you can flip the sticker up, and it’ll come back down in exactly the same spot.
5. Peel and smooth from the center
Flip the sticker up on its hinge and peel the backing off slowly, keeping it close to the surface. Don’t let the sticky side touch anything.
Lower the sticker back down while holding the bottom edge slightly away from the car. Starting at the top center, press it down with your squeegee and work outwards and downwards in overlapping strokes. Pushing from the middle to the edges moves the air out instead of trapping it.
6. Remove the tape and press the edges
Peel off the hinge tape, then go over the whole sticker once more, paying attention to the edges and corners. Firm pressure on the edges is what stops them lifting in the wind and rain.
7. Give it time to cure
The adhesive keeps bonding for a day or two after you apply it. Avoid car washes, pressure washers and heavy rain for 48 to 72 hours if you can.
The wet method for larger stickers
For big vinyl decals, some people prefer the wet method. Lightly mist the clean surface with water that has a drop or two of dish soap in it. The soapy layer lets you slide the sticker into place, and you then squeegee the water out from the center to the edges.
It’s very forgiving, but it has two downsides: the sticker takes longer to bond (sometimes a few days), and it only works with vinyl. Never use the wet method on paper bumper stickers, because they’ll soak up the water and wrinkle.
How to fix bubbles
Small bubbles are normal and many disappear on their own after a few warm days. For a bigger bubble, prick it at the edge with a pin and press the air out towards the hole with your thumb. Don’t try to peel the sticker back up once it’s set; you’ll stretch the vinyl.
If a corner is lifting after a few days, it’s usually because the surface wasn’t clean or the area is too curved. A little heat from a hair dryer and firm pressure can help it settle.
Common mistakes to avoid
| Mistake | What happens | What to do instead |
|---|---|---|
| Skipping the alcohol wipe | Edges peel within weeks | Clean with isopropyl alcohol and let it dry |
| Applying in hot sun | Adhesive grabs instantly, causing creases | Work in the shade or in the morning |
| Peeling the whole backing first | Sticker folds onto itself | Use the hinge method |
| Smoothing from one side | Air gets trapped in the middle | Always start at the center |
| Washing the car the next day | Edges lift before the bond sets | Wait 48 to 72 hours |
| Placing it on a textured strip | It never fully sticks | Choose a smooth, flat area |
How to remove a bumper sticker later
Sooner or later you’ll want it off. Warm the sticker with a hair dryer for a minute to soften the adhesive, then lift a corner with a plastic card or your fingernail and peel it back slowly at a low angle. Keep warming as you go.
Any leftover residue comes off with a little isopropyl alcohol, an adhesive remover made for car paint, or even a dab of cooking oil, followed by a normal wash. Avoid metal scrapers and razor blades on paint. A plastic razor blade is fine on glass.
A quick tip if you sell stickers or give them away: printing them on removable vinyl makes life easier for your customers when they change cars or want a new design.
What makes a bumper sticker last outdoors
How long a bumper sticker lasts has more to do with how it’s made than how it’s applied. For years of sun, rain and car washes, you want:
- Vinyl, not paper. Paper stickers are fine for a short campaign but break down fast outside.
- A UV-resistant laminate over the print, so colors don’t fade.
- Outdoor-grade adhesive that’s rated for car paint.
Our custom bumper stickers are printed on waterproof vinyl with a protective laminate for exactly this reason. If you’re planning stickers for a brand, an election campaign, or a merch drop, have a look at our custom car stickers too, and check our guide to circle sticker sizes if you’re not sure what size to order.
Frequently asked questions
On healthy factory paint, a good vinyl sticker shouldn’t damage it. The risk is mostly on repainted or older, oxidized paint, where removing the sticker can lift flakes. You may also see a slight outline later, because the paint under the sticker was protected from the sun while the rest faded a little.
Yes, and windows are often a better surface than a curved plastic bumper. Just keep it out of your line of sight and away from the third brake light and any rear wiper path.
It’s stuck immediately, but the adhesive keeps strengthening for 48 to 72 hours. Avoid car washes during that time.
Only for vinyl stickers, and only if you want to use the wet method for a big decal. For a standard bumper sticker, dry application on a clean surface works well and bonds faster.
Usually the surface wasn’t fully clean, the area is too curved, or the car was washed before the adhesive cured. Clean, flat placement and patience solve most peeling problems.